Configuring WIFI
It is suggested that first methods be used.
Way1: connect to wifi by APP
Step1--Connect CrazyPi mainboard to the power supply
( Due to the error of printing, 'CFG'--------Reset, 'RST'--------Set up as a hot spot )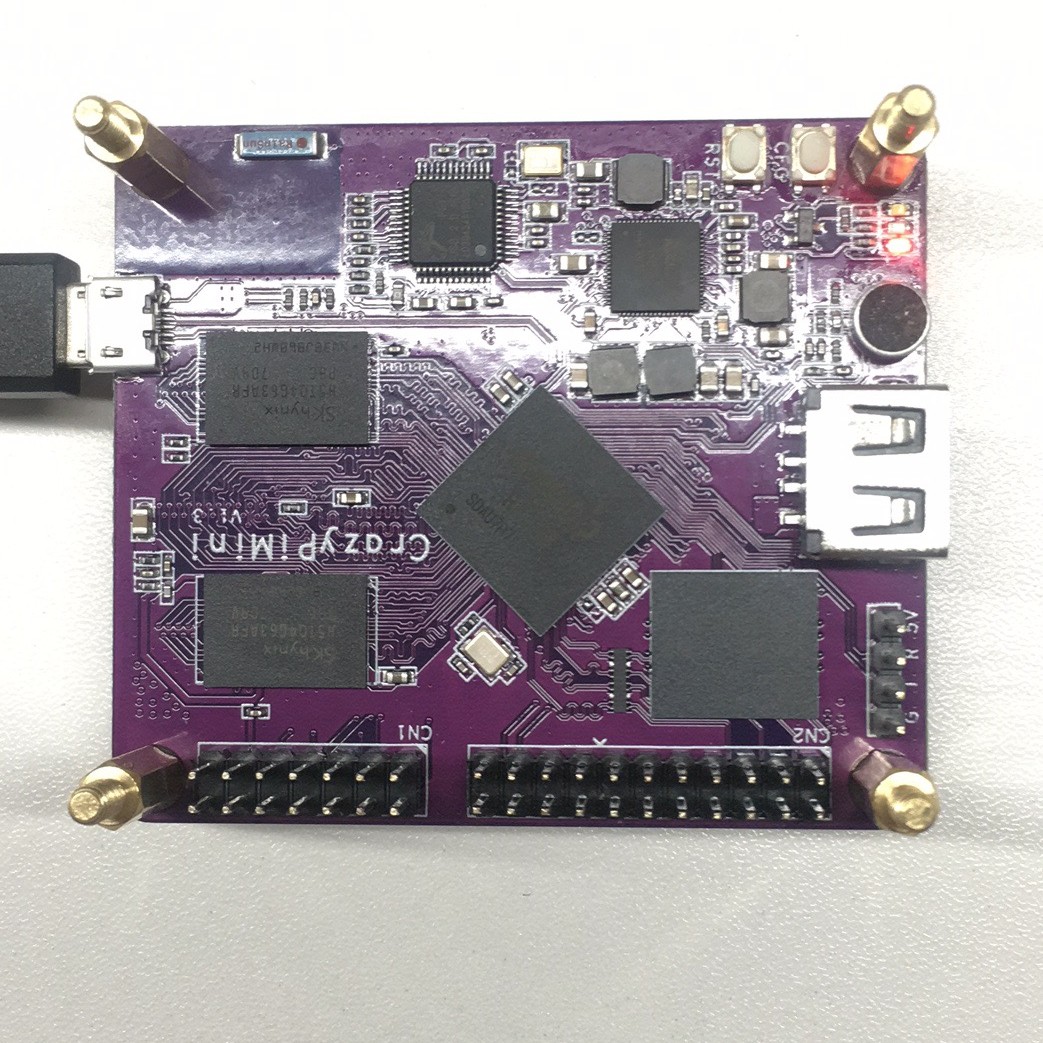
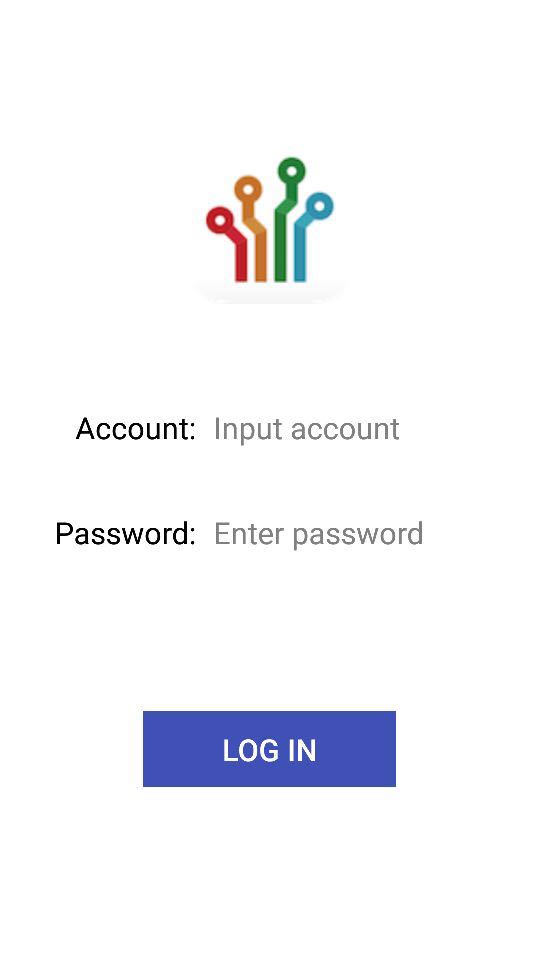
Step2--Download "Crazyou" to your mobile phone on Google Play

Step3--After the installation is completed, enter APP, enter your username and password.(If you do not have a registered account, need to enter the official network registered account https://www.crazyou.com/)
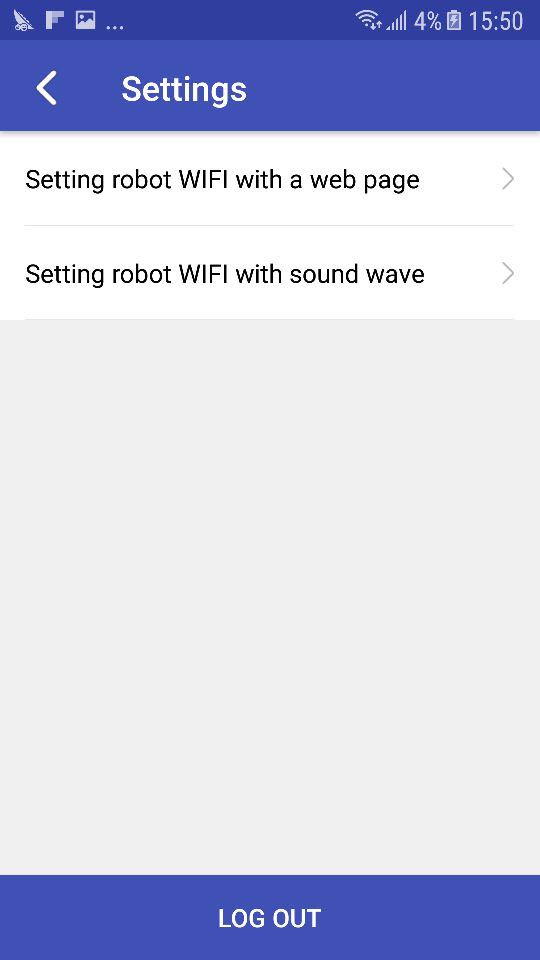
Step4--After the successful login, click the setting button, click "Setting robot WIFI with sound wave"
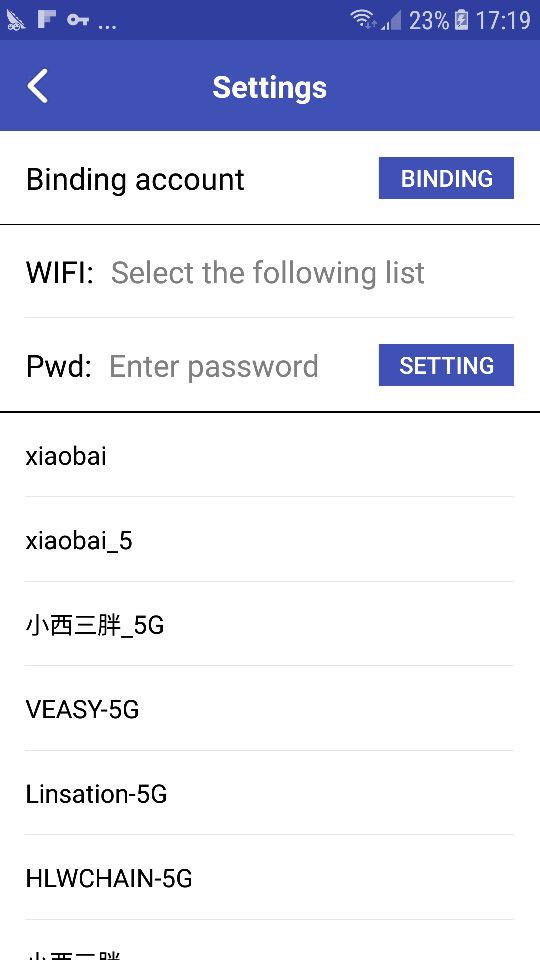
Step5--Click "BINDING" button, Bind your CrazyPi. We use the sound control to bind. After hearing the three noise, binding success.
Step6--Select the WiFi account and enter the password, click "SETTING". After hearing the two noise, WiFi connection success. After the end of the setup, CrazyPi is automatically connected to the network and, of course, you can also view the network status under the command line

Way2: Connect to wifi by Linux command
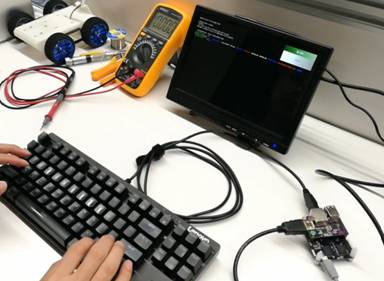
First, a multimedia extension module is inserted on the CrazyPi development board. Find a HDMI signal cable, HDMI, display, and USB general keyboard, and connect CrazyPi to the HDMI display. After CrazyPi is connected to the power supply, displays the command line operating interface on the HDMI display. The user can configure the WiF through the Linux command line operation. Let CrazyPi connect to the Internet.
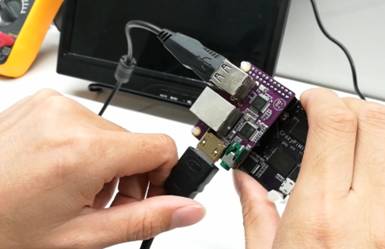
Step1--CrazyPi connect the HDMI display
Step2-- Linux command line input on the HDMI display
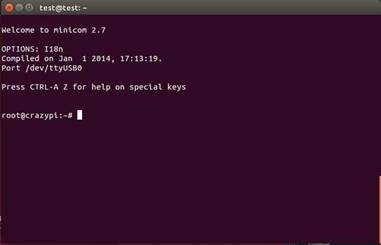
Step3--Enter the user Linux account and password, and entering the command line
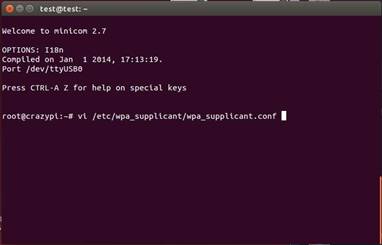
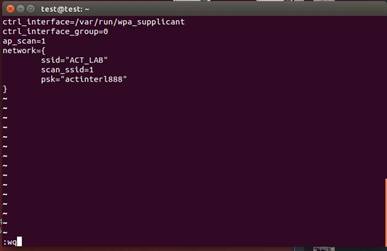
Step4--Input linux instruction: vi /etc/wpa_suplicant/wpa_suplicant.conf
Step5--According to the actual situation, modify the WiFi account and password
Step6--After the end of the setup, CrazyPi is automatically connected to the network and, of course, you can also view the network status under the command line
